I'm trying to apply the same concept to my garden, but I call it tip-to-root eating. It seems to me that it takes a fair amount of the earth's resources to grow vegetables and I should make use of all parts, rather than chopping off the tops (or bottoms) and then throwing the rest away (or composting it). It just seems the right thing to do: the thing that demonstrates good stewardship for my garden's output.
I credit Tamar Adler with changing the way I cook. Her book An Everlasting Meal is a beautiful meditation on cooking and eating. She's a believer in using the parts of vegetables that we may routinely throw away.
I'll never again look at bolted cilantro or dill flowers as evidence that they are past their prime and ready for my compost pile. Instead, I'll place them on top of salads, garnish a soup with them, or tuck them into a flower arrangement. Carrot tops, radish leaves, squash seeds, pea tendrils, green tomatoes, cilantro seeds and sweet potato leaves are all finding their way into my cooking.
I'm not the only one on this bandwagon. Here's an article from the New York Times that touts the virtues of using all parts of a vegetable. I love the title: That's Not Trash, That's Dinner. The end of the article lists a number of uses for your vegetable trimmings.
Here's an example of my tip-to-root approach. This week I harvested the majority of my beet crop.

I brought the haul into my kitchen and washed the dirt off, cut off the beets, and prepared them for roasting.

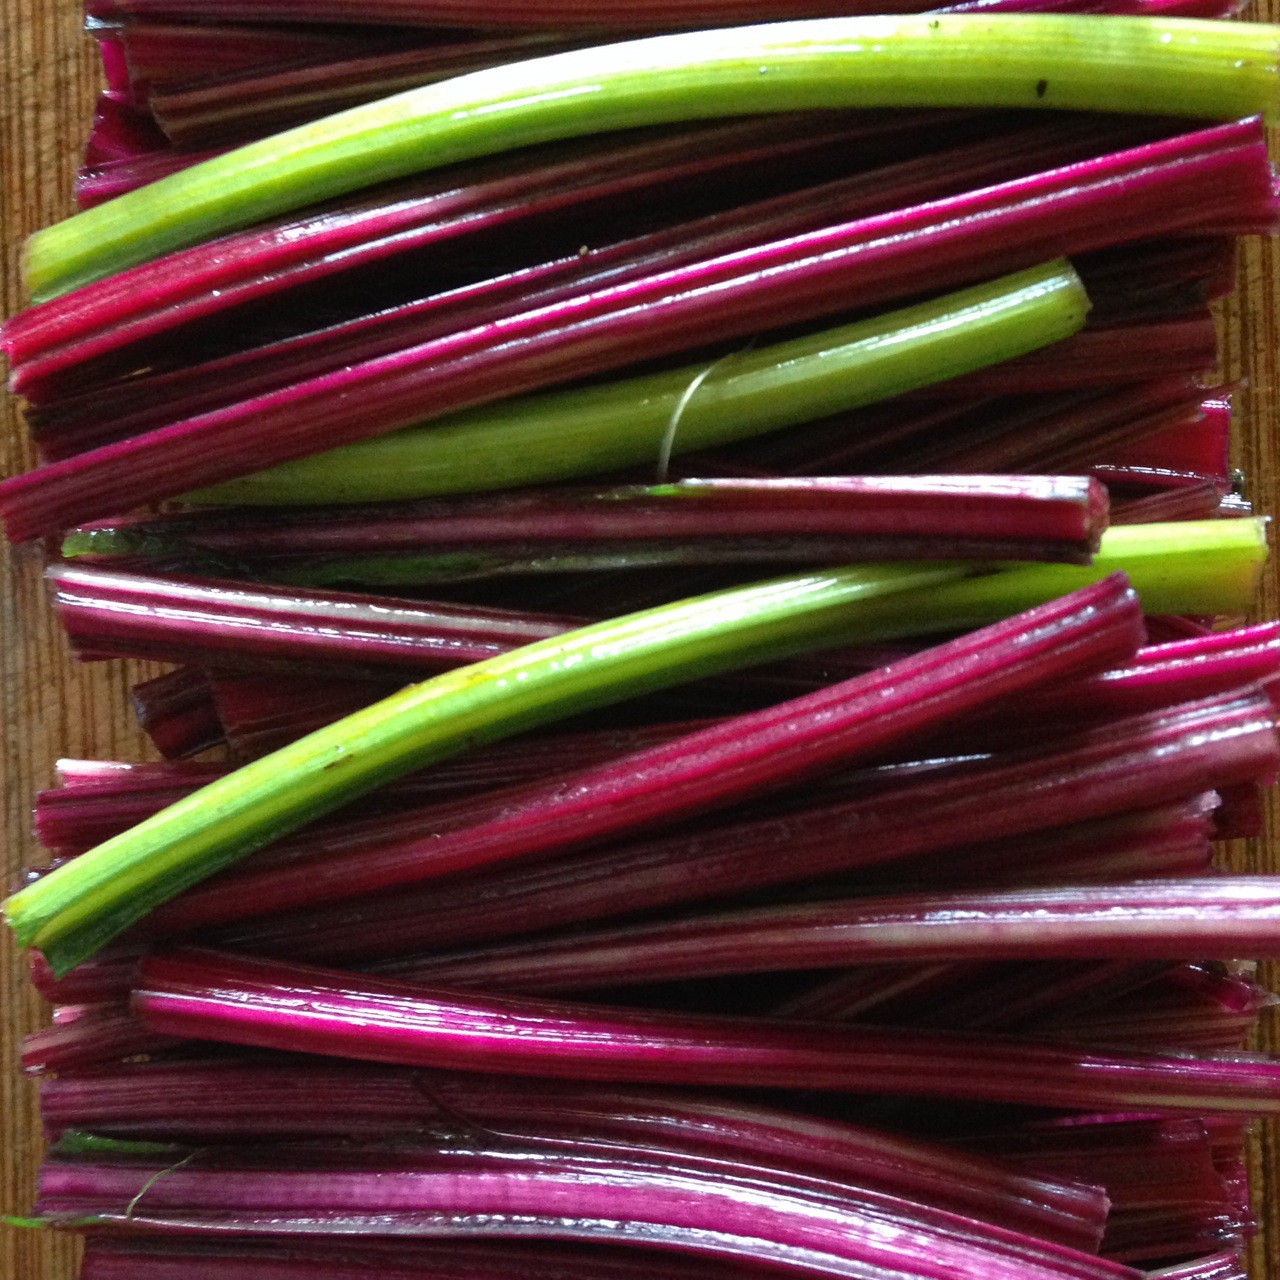
I then turned my attention to the greens, which I washed in batches and spun dry. It breaks my heart to see topless beets at the farmers' market. I'll find ways to use them all week. They are my favorite greens.

Next, I tackled the stems. I'm planning to stir fry some of them, but the rest I chopped into 1/2-inch pieces and pickled in a red wine/vinegar brine. They will add a bit of crunch and tang to sandwiches or salads.
And the beets got canned. (See recipe below.)

So next time you go to the farmers' market or out to your garden, I hope you will think twice before tossing parts and pieces of your beautiful fruits, herbs and vegetables.
________________________
Red Wine Pickled Beets
Makes 4 pints
Ingredients
3 lbs. beets
Olive Oil
Salt
Preheat the oven to 400 degrees. Trim away beet greens. Nestle beets in a baking pan and coat with a splash of olive oil and a few generous pinches of salt. Cover with aluminum foil and roast for 1 hour, or until beets are tender. Once the beets are cool enough to handle, rub the skins off with the fingers or a kitchen towel.
Slice the beets into thick wedges. Weigh the slices, setting aside 2.5 lbs. to pickle.
Pickling Ingredients
2 cups red wine vinegar
1 cup red wine
1/2 cup water
1/4 honey
1/3 cup packed brown sugar
1 tablespoon Kosher salt
2 teaspoons black peppercorn
8 thyme springs
4 rosemary springs
2.5 lbs. beets: roasted, peeled and sliced.
1. In a pot, bring the vinegar, wine, water, honey, sugar, and salt to a boil. Keep hot.
2. Scald 4 pints jars in a large pot of simmering water filled with a rack – you will use this pot to process the jars. Lift the jars from the hot water and place the jars on the counter. Add 1/2 teaspoon peppercorns, 2 thyme sprigs, and 1 rosemary sprig to each jar, and then pack in the beets. Meanwhile, soak the lids in a pan of hot water to soften the rubber seal.
3. Transfer the brine to a heat-proof pitcher and pour over beets, leaving a 1/2 inch head space from the rim of the jar. Check the jars for air pockets, add more brine if necessary to fill in gaps. Wipe the rims with a clean towel, seal with the lids, then screw on the lids until snug but not tight.
4. Place the jars in the pot with the rack and add enough water to cover the jars by about 1 inch. Bring the water to a boil and process the jars for 10 minutes (start the timer when the water reaches a boil). Turn off the heat and leave the jars in the water for a few minutes. Remove the jars from the water and let cool completely. Tighten the lids and store in your pantry or give away a gifts.
No comments:
Post a Comment